DIY Valentine’s Day Star
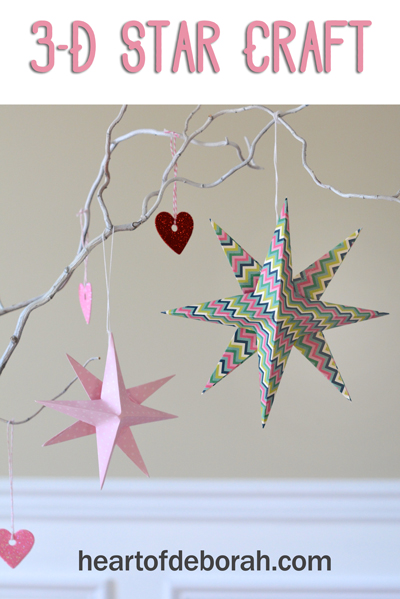
A few years ago I learned how to make a three-dimensional star ornament. As a kid I loved origami so this fun DIY Valentine’s day star brought back so many memories. We decided to jazz up our home with these Valentine stars, but you can do this for any holiday or season. Choose whatever color star you would like!
This craft looks difficult, but it is super easy and requires limited supplies. So grab your old scrapbook paper and try this craft. We decided to hang our stars on twigs we had in our house, but I think it would look beautiful to fill up a glass vase with all different colors and sizes. Another fun idea, make a garland out of the stars!
This post contains affiliate links.
Supplies for Valentine’s Day Star:
- 2 square pieces of scrapbook paper or origami paper
(5-7 inches wide)
- ruler
- pencil
- tape
- glue (I like super glue
or UHU Twist and Glue)
Watch the Youtube tutorial video or follow the step by step pictures below:
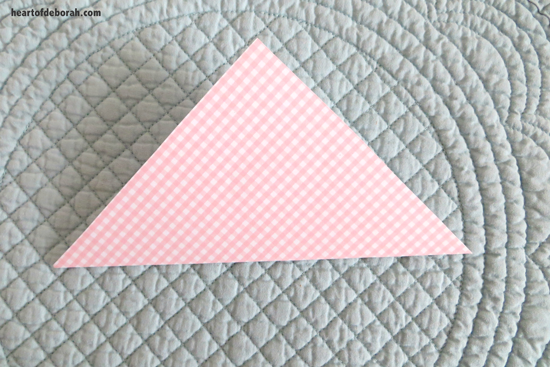
Step 1: Fold square in half. Do this in both directions.
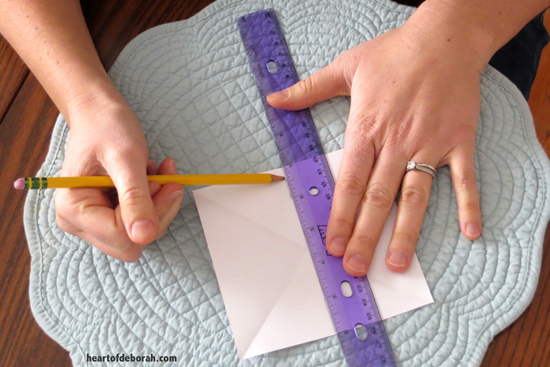
Step 2: Draw 1 inch lines in between each triangle.
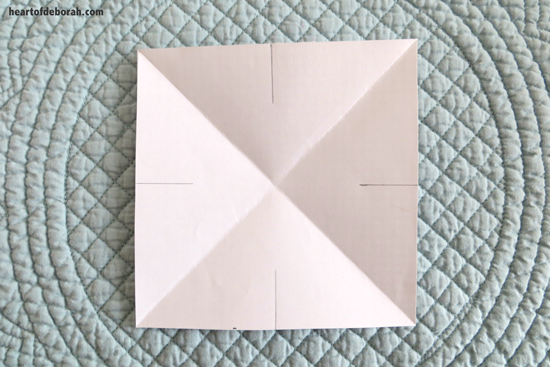
Step 3: Cut in approximately 1 inch using the lines you drew. Try to keep the cut as consistent as possible for all 4 lines.
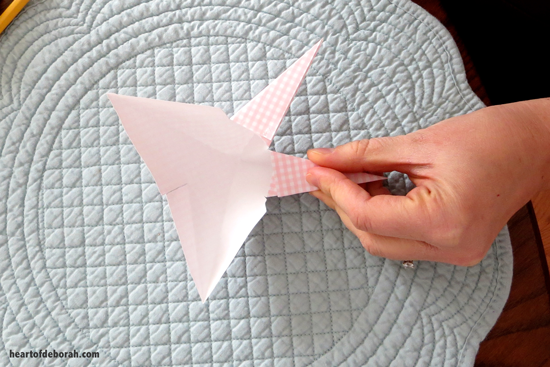
Step 4: Fold over the triangles to create 4 different points.
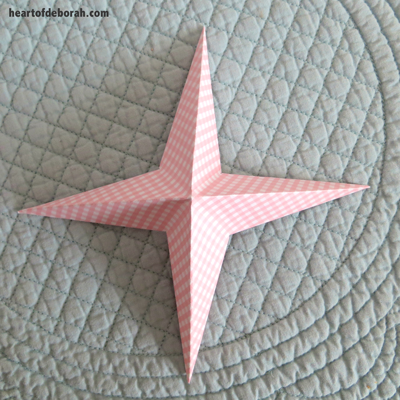
Step 5: Overlap triangles on each point. Fasten with tape or glue. Your star will start to become 3-dimensional.
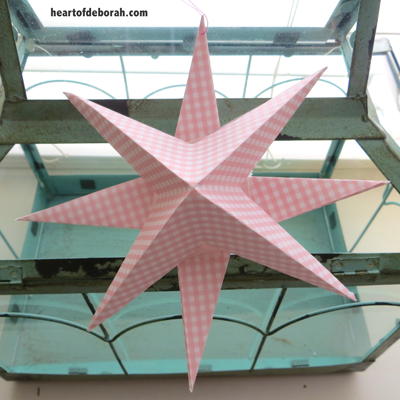
Step 6: You have completed one star. Follow steps 1-5 to create a second star. Fasten the two stars together using super glue or UHU glue. Now you are finished. You can glue string behind one of the points or thread a string through the paper.
Do you decorate for Valentine’s day? I’d love to hear how you celebrate in the comments below! Be sure to follow Heart of Deborah on Pinterest for more fun kid’s crafts and activities.








These are so pretty! They would be so fun for my kids at school! Love it!